Development
The following guide is intended to help developers who maintain or want to make changes to the Chatbot WS template.
Preparing for Local Development
This section discusses the one-time setup in order to develop ChatbotWS.
Installing Java & Maven (on Mac)
brew update
brew install openjdk@17
At the end of the last command prompt, something like the below will show up:
For the system Java wrappers to find this JDK, symlink it with
  sudo ln -sfn ...openjdk@17/libexec/openjdk.jdk .../JavaVirtualMachines/openjdk-17.jdk

openjdk@17 is keg-only, which means it was not symlinked into /usr/local,
because this is an alternate version of another formula.

If you need to have openjdk@17 first in your PATH, run:
  echo 'export PATH=".../openjdk@17/bin:$PATH"' >> .../.bash_profile

For compilers to find openjdk@17 you may need to set:
  export CPPFLAGS="-I.../openjdk@17/include"
Make sure to execute the sudo ln -sfn, echo 'export PATH=..., and the export CPPFLAGS= commands above
ChatbotWS is built using maven. Maven uses a separate JDK version, which can be seen via mvn -v. If it's not JDK 17, we
should have Maven point to our JDK 17 using JAVA_HOME:
$ /usr/libexec/java_home
/Library/Java/JavaVirtualMachines/jdk-17.jdk/Contents/Home

$ export JAVA_HOME=/Library/Java/JavaVirtualMachines/jdk-17.jdk/Contents/Home
If we see something similar after typing the command with the version flag below we're good to go
$ java --version
openjdk 17.0.10 2021-01-19
OpenJDK Runtime Environment (build 17.0.10+9)
OpenJDK 64-Bit Server VM (build 17.0.10+9, mixed mode)
Installing Docker Engine
ChatbotWS has Docker-based integration tests; it also supports running template webserivce in Docker. Docker can be installed by following its official instructions
Getting Source Code
git clone git@github.com:QubitPi/chatbot-ws.git
cd chatbot-ws
Syncing up with ChatbotWS's Code Styles with IntelliJ
For the moment, we have distilled the most important code style conventions with respect to ChatbotWS's code as IntelliJ settings. If IntelliJ is used for IDE, we may import these code style settings by importing the ChatbotWS-Project-intellij-code-style.xml file in the root of the repo. The setting for the project will appear as a new Scheme named "chatbot-ws-Project" under IDE's Editor -> Code Style section.
Please also enable "remove unused imports" by Editor -> General -> Auto Import -> Optimize Imports on the Fly, which will automatically remove unused imports.
Running Tests
The following commands runs both unit and integration tests:
If tests fail with 404 or endpoint-not-working, make sure the port 8080 is not occupied. All integration tests runs against webservice running at that port.
mvn clean verify
For IT tests, we use Testcontainers instead of jcabi-mysql because the latter is hard to configure and debug and Testcontainers support more types of databases, such as mongo
Packaging
A WAR file named chatbot-ws-1.0-SNAPSHOT.war will be generated under target directory for running in Jetty with the command below:
mvn clean package
Running Webservice in Docker
Please make sure Docker is installed (Installing Docker), then execute the following commands:
Getting the Image
We can obtain the image in one of the 2 approaches below:
Docker Hub
We can pull the image from my docker hub:
docker pull jack20191124/chatbot-ws
GitHub
We could also build the image from source:
git clone https://github.com/QubitPi/chatbot-ws.git
cd chatbot-ws
docker build -t jack20191124/chatbot-ws .
Please note that the jack20191124/chatbot-ws in the last command is the image name; we could replace
that value with anything preferred
Standing up a Container
When image is built, we can spin up an instance with
Please replace the OPENAI_API_KEY below with the actual key which can be obtained
here
export OPENAI_API_KEY=...
docker run --name=chatbot-ws -it \
    -p 8080:8080 \
    -e OPENAI_API_KEY=$OPENAI_API_KEY \
    jack20191124/chatbot-ws
- name=chatbot-ws: the container is named "chatbot-ws". We can change it accordingly.
- -p 8080:8080: 8080 is the port where webservice will listen on. With this port forwarding, we will be able to
access webservice from host machine web browser at
localhost:8080
If we see the following output, it means the container is running properly and ready to accept request such as
http://localhost:8080/v1/healthcheck
...

2023-10-24 05:21:46.032:INFO :oejss.DefaultSessionIdManager:main: Session workerName=node0
2023-10-24 05:21:46.977:INFO :oejsh.ContextHandler:main: Started o.e.j.w.WebAppContext@2892dae4{ROOT.war,/,file:///tmp/jetty-0_0_0_0-8080-ROOT_war-_-any-13760845903749066689/webapp/,AVAILABLE}{/jetty-base/webapps/ROOT.war}
2023-10-24 05:21:46.994:INFO :oejs.AbstractConnector:main: Started ServerConnector@5c8dfc08{HTTP/1.1, (http/1.1)}{0.0.0.0:8080}
2023-10-24 05:21:47.009:INFO :oejs.Server:main: Started Server@71d44a3{STARTING}[11.0.15,sto=5000] @2947ms
Running Webservice in Standalone Jetty
Download Jetty
For JDK 17, which is the version ChatbotWS runs on, it's been tested that Jetty 11.0.15 worked. Hence, we will use "11.0.15" release as an example:
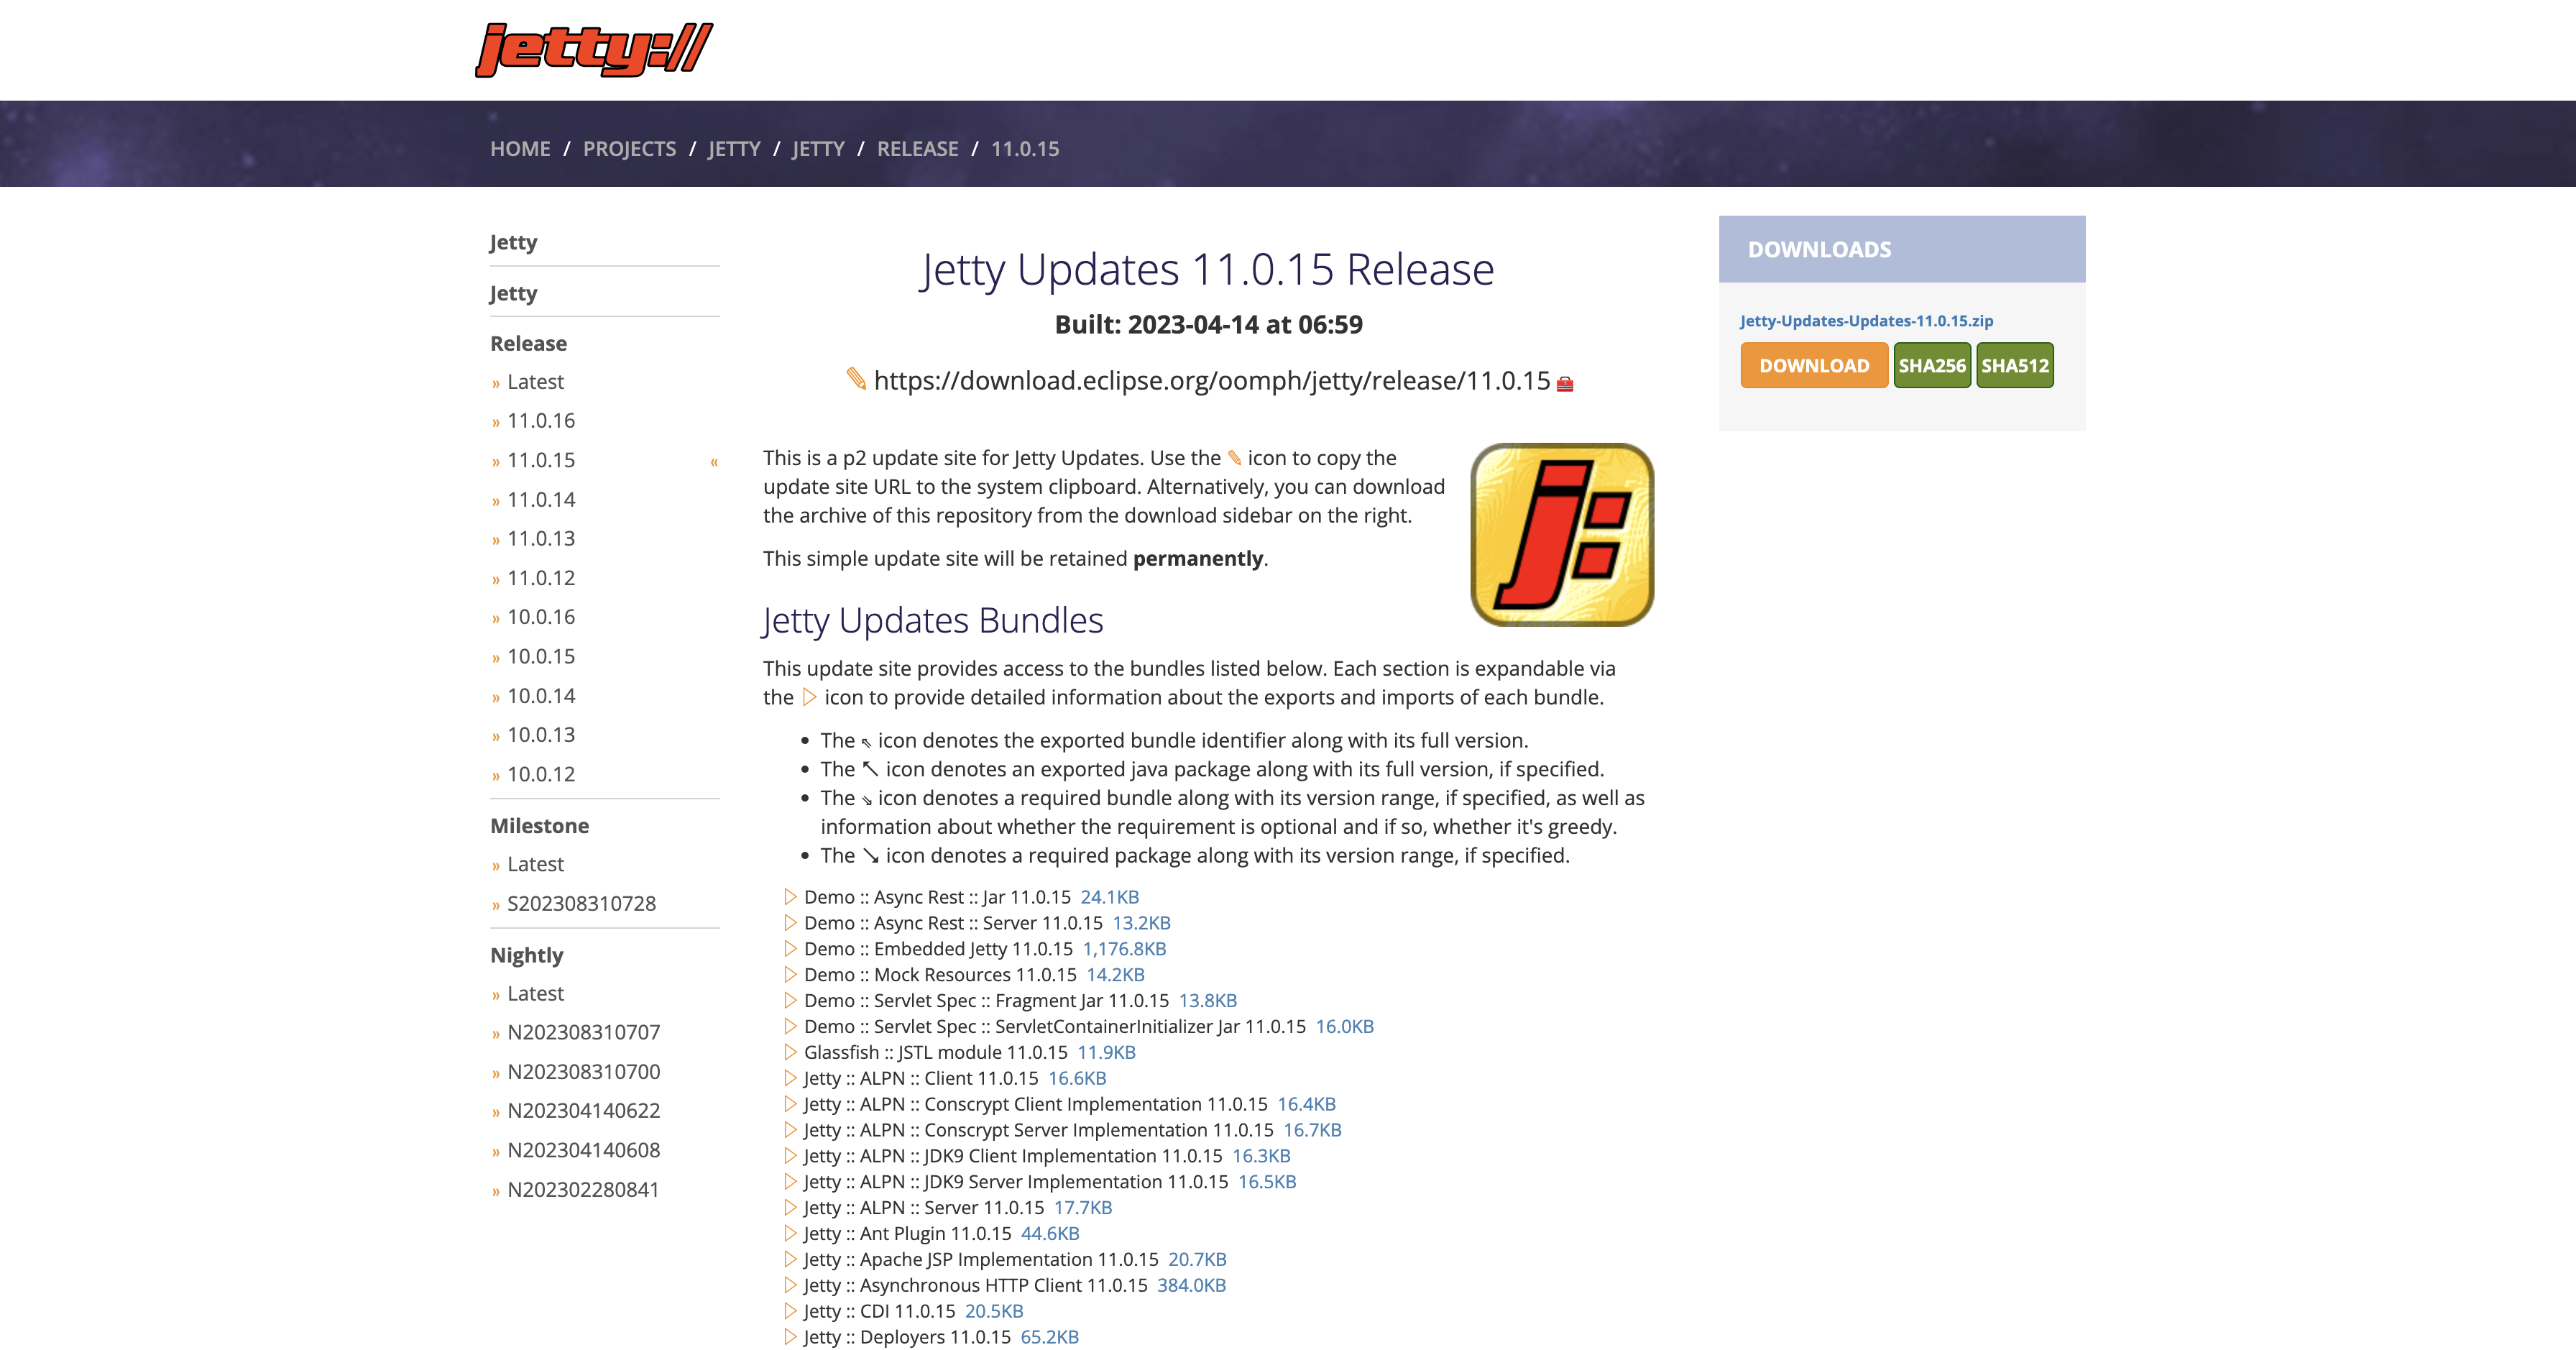
Put the tar.gz file into a location of your choice as the installation path and extract the Jetty binary using
tar -xzvf jetty-home-11.0.15.tar.gz
The extracted directory jetty-home-11.0.15 is the Jetty distribution. We call this directory $JETTY_HOME, which should not be modified.
Setting Up Standalone Jetty
Our WAR file will be dropped to a directory where Jetty can pick up and run. We call this directory $JETTY_BASE, which is usually different from the $JETTY_HOME. The $JETTY_BASE also contains container runtime configs. In short, the Standalone Jetty container will be setup with
export JETTY_HOME=/path/to/jetty-home-11.0.15
mkdir -p /path/to/jetty-base
cd /path/to/jetty-base
java -jar $JETTY_HOME/start.jar --add-module=annotations,server,http,deploy,servlet,webapp,resources,jsp
where /path/to/ is the absolute path to the directory containing the jetty-home-11.0.15 directory
The --add-module=annotations,server,http,deploy,servlet,webapp,resources,jsp is how we configure the Jetty
container.
Lastly, drop the WAR file into /path/to/jetty-base/webapps directory and rename the WAR file to ROOT.war:
mv /path/to/war-file /path/to/jetty-base/webapps/ROOT.war
Running Webservice
java -jar $JETTY_HOME/start.jar
The webservice will run on port 8080
Troubleshooting
IntelliJ
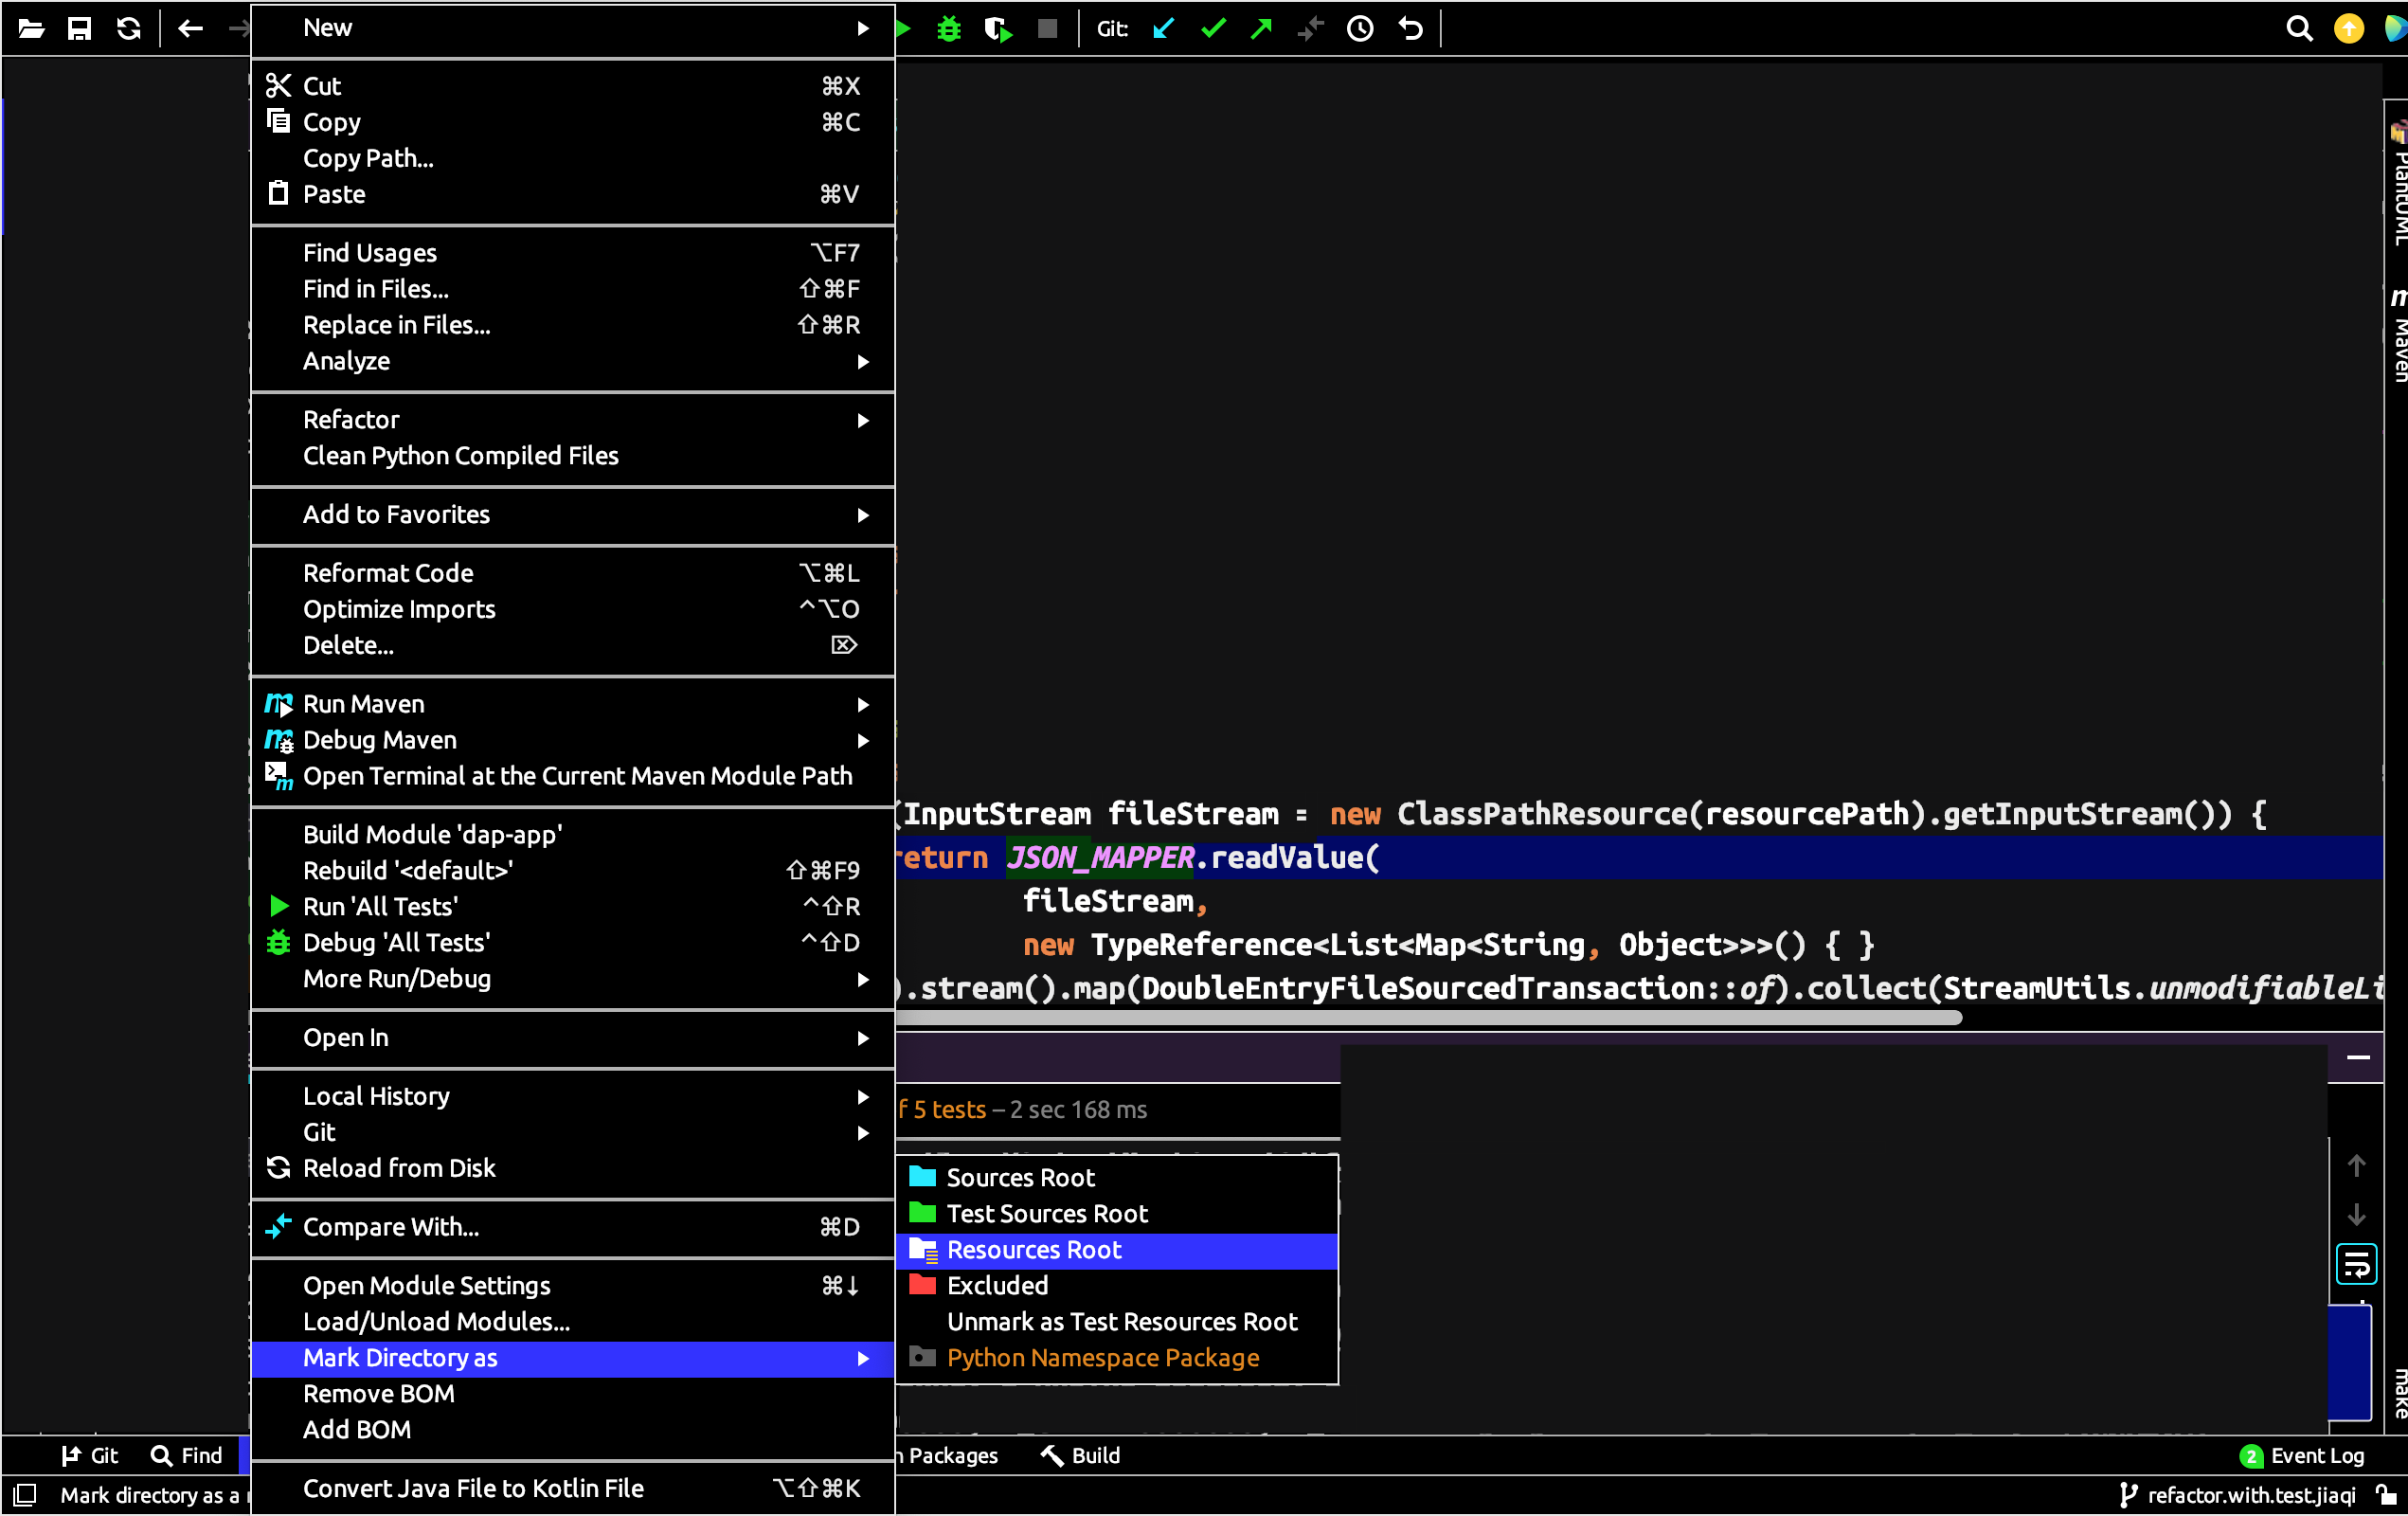
IntelliJ Cannot READ Resource File
We sometimes see errors when we run unit tests in IntelliJ, saying "some resource file" cannot be found. We know the path is absolutely right. If this is the case, it's simply a IntelliJ issue which is solved by simply loading those resources explicitly by telling IntelliJ where those resources are:
Tab Width
We use 4-space as tab. This can be configured at Code Style -> Java -> Tabs and Indents with the following settings:
- Tab size: 4
- Indent: 4
- Continuation indent: 8
If tabs still come out at 2 spaces when hitting TAB or Enter, not 4 spaces, try:
- "Settings | Editor | Code Style" -- try disabling "Detect and use existing file indents for editing" in case if you have it enabled (it is by default). NOTE: re-opening file in editor may be required.
- Do you have any .editorconfig files anywhere in the path of that file? Settings from .editorconfig ("Settings | Editor | Code Style") have priority (will overwrite) over your IDE settings.